
Want to make (sort of) arches out of your old cabinets? I took a wack at it.
- Mary G

- Feb 16
- 3 min read
So… I turned two very normal, very rectangular kitchen cabinets into *sort of* arched shelves.


Was this a perfectly engineered, mathematically precise renovation?
Absolutely not.
Do I kind of love them anyway? Yes, I do.
Here’s how it all went down.
---
The Vision (fuzzy at best)

There is a house that I go by when I walk my dog that has beautiful, underlit, arched bookshelves that glow through the windows at night — soft curves, cozy vibes, very much something that I want.
Per usual, instead of buying something new, I decided to experiment with two of my existing upper kitchen cabinets. They were fine. Functional. Boxy. A little boring. but the great thing about my old house is that I can experiment a lot, because some day, I figure someone will just tear it all out anyway.
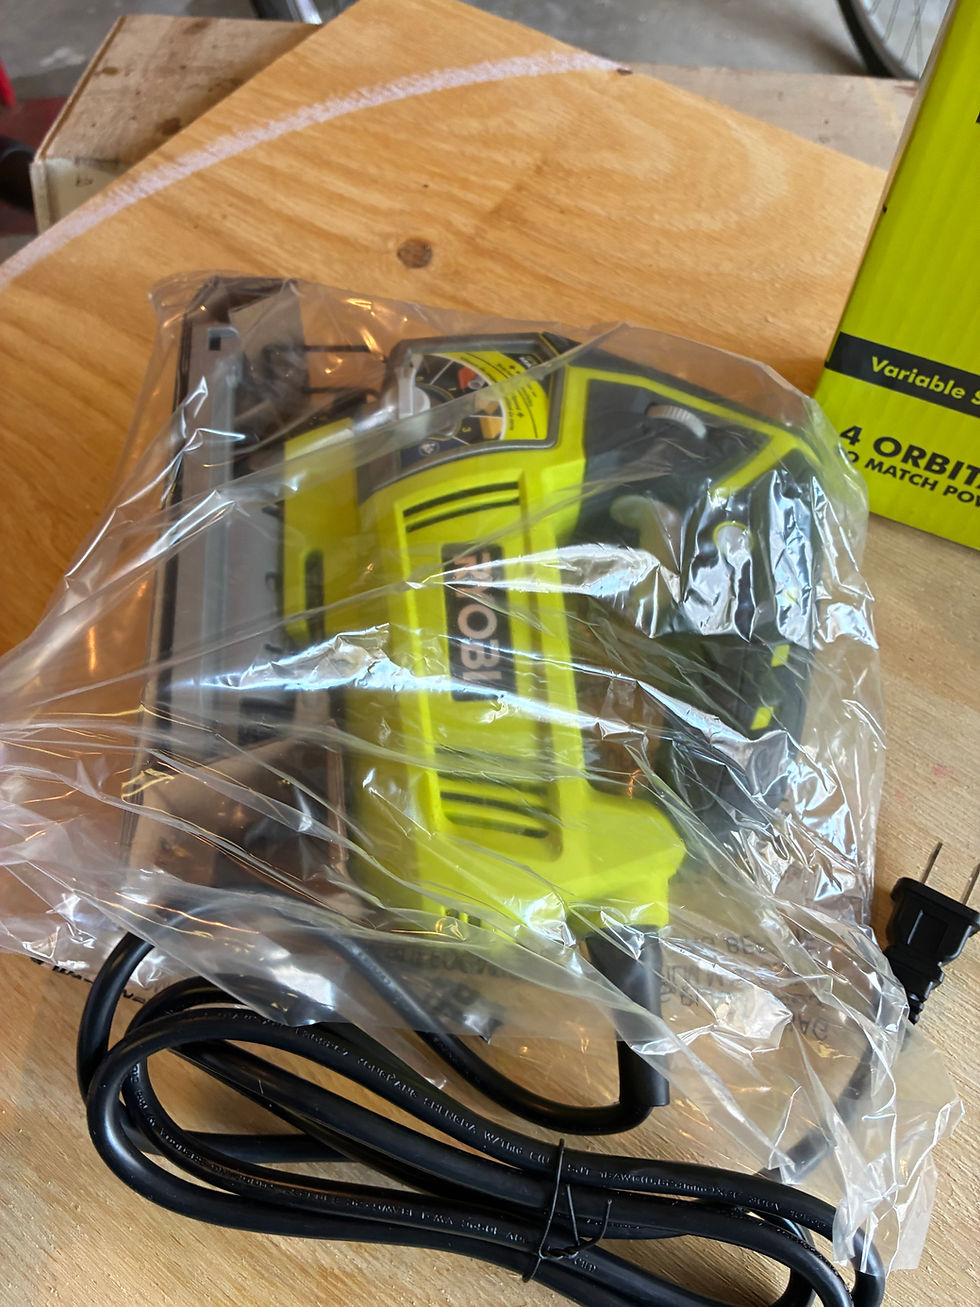
So, I bought a jigsaw.
---
Step 1: Drawing the Arch .On the garage floor. With chalk.


Rather than overthink it, I cleared a spot on the garage floor and grabbed:
* Chalk
* String
* A random screw.
I screwed the screw into the floor just enough to act as a fulcrum point, tied a piece of string to it, tied the other end to my chalk, and made a DIY compass the size of a pizza.
Then I swung the chalk in an arc and — boom — instant arch.
Was it perfect? I don't think so.
professional? Also no.
Did it work? Yes.
---
Step 2: Cutting the Arch

Once I liked the general shape, I transferred it onto my wood panel.
Then came the jigsaw.
There’s something very satisfying about cutting curves with a jigsaw — it feels artistic. but it is also really hard to keep the line smooth...maybe that gets easier with a higher quality jigsaw? I don't know. As a result, mine needed a lot of sanding.
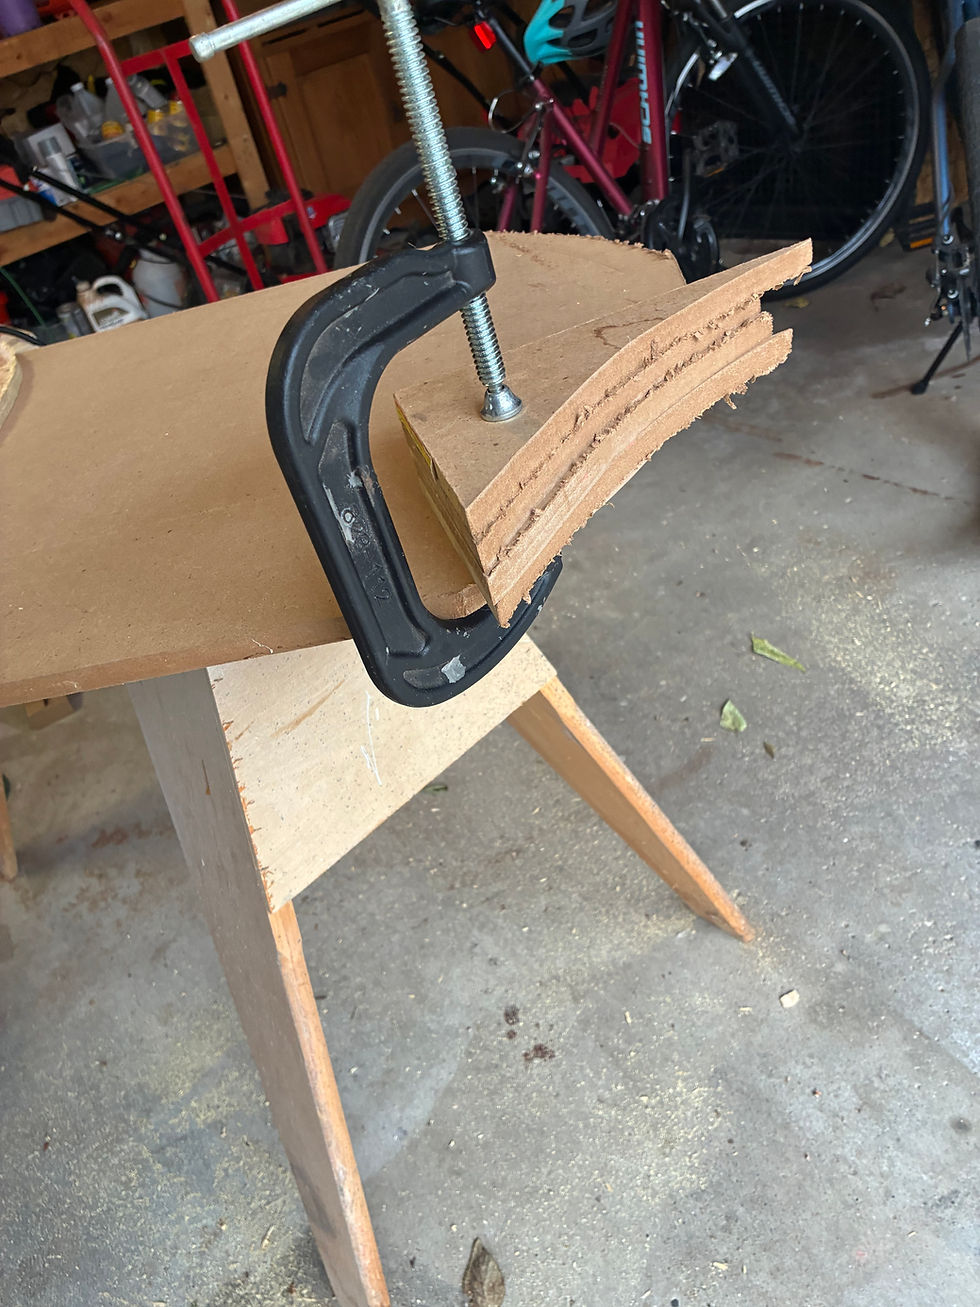
Now, full disclosure: these are not true, symmetrical, architectural arches. They’re more like… arch-adjacent. Soft curves. Suggestive arches. If you squint.
But I decided early on that “good enough” was going to win this round.
---
Step 3: The Commitment Moment
There’s always a moment in a DIY project where you think:
* I could redo this properly.
* I could scrap it and start over.
* I could pretend this was intentional.
I chose option three.
I had already cut the wood. The arches weren’t perfectly full. The curves were a little flatter than I imagined. But instead of chasing perfection, I installed them anyway.


And honestly? Once they were up, painted, and styled — they looked charming.
Not magazine-perfect.
But warm. Handmade. Personal.

---
The Result
The cabinets feel lighter now. Softer. Less “standard kitchen box” and more “add this to the list of cool things I've tried”
And here’s the funny part: now that I know how to do it, I absolutely plan on doing it over and tweaking the radius next time. When that day comes, I'll make the arch fuller. Rounder. More dramatic.
But I don’t regret doing these first.
They’re proof of the learning curve.
Literally.
---
What I Learned
* A string and chalk are very effective.
* Someday I will have a huge table jigsaw.
* Perfection is overrated.
* Sometimes the first try is supposed to be the “practice round” — even if it ends up staying on your wall.
And honestly? I kind of love that they’re not perfect arches.
They’re mine.
Would I do it again?
I plan on it.
Will I take more time and do it right?
…here's hoping 😅


Very lovely and ao much character. My husband and I do a lot of different "builds" and in no way perfect. Which we love seriously. We get splinters and paint headaches but in the end it was something we done with our hands and heart. I think I might try this someday. Thanks you for the share.